Guides/Planning·9 min read·Updated September 4, 2026
A wrong measurement is the most common reason a DIY permanent lighting order comes up short. Here is how to measure every roofline shape correctly the first time.
Key takeaways
- 1Measure every straight section of roofline separately, then add the sections together rather than guessing a single total.
- 2Gables and peaks need the diagonal length, not just the horizontal width, or the kit will run short at the top.
- 3Round up to the next kit size rather than down, and add a small allowance for corners, cuts and future additions.
- 4A satellite view combined with a laser measure or ground-level tape gives an accurate total without climbing on the roof.
- 5Note the outlet location and any long branches while measuring, since those decide where power injection and extension connectors go.
Every permanent LED lighting job starts with a number, and that number is the total length of track you need. Get it right and the kit that arrives has enough pieces, enough connectors, and enough length to reach every corner of the house without a mid-project trip back to the shop. Get it wrong and you either order twice or improvise a fix that never quite looks right. Measuring a roofline is not difficult, but it does reward a bit of method. This guide walks through how to measure every common roofline shape so the kit you order matches the house you actually have.
Why accurate measurement matters more than it seems
A 12V permanent lighting system is modular. Each piece of aluminum track is 42 inches long and carries five RGBW puck lights, spaced roughly 8.4 inches apart, and the pieces link together with sealed twist connectors to form one continuous run. That modularity is what makes the system flexible, but it also means the kit you order is built around a specific total length. Kits are sold in set sizes, from 50 ft up to 250 ft, each with a defined number of track pieces, extension connectors and power hardware bundled in. If your roofline comes in at 82 ft and you order a 75 ft kit to save a few dollars, you will be short pieces and connectors on install day, usually on a Saturday when nothing ships until Monday.
Oversizing by a little is far less costly than undersizing. Extra track pieces are easy to store for a future addition, such as lighting the garage or the back deck later, while a shortfall stalls the entire install. The rule of thumb is to measure carefully, add a reasonable allowance, and round up to the next kit size rather than down.
Tools that make this easier
- A 100 ft or 165 ft open-reel tape measure for long straight runs along the ground.
- A laser distance measure for gables, peaks and anywhere a tape measure is awkward to hold taut.
- A notepad or phone to sketch the roofline and jot each section's length as you go.
- A satellite or aerial view of the property, from Google Maps or a similar tool, to cross-check your on-the-ground numbers.
- A helper to hold the far end of the tape on longer eaves, which is faster and more accurate than working alone.
Step 1: Sketch the roofline before you measure anything
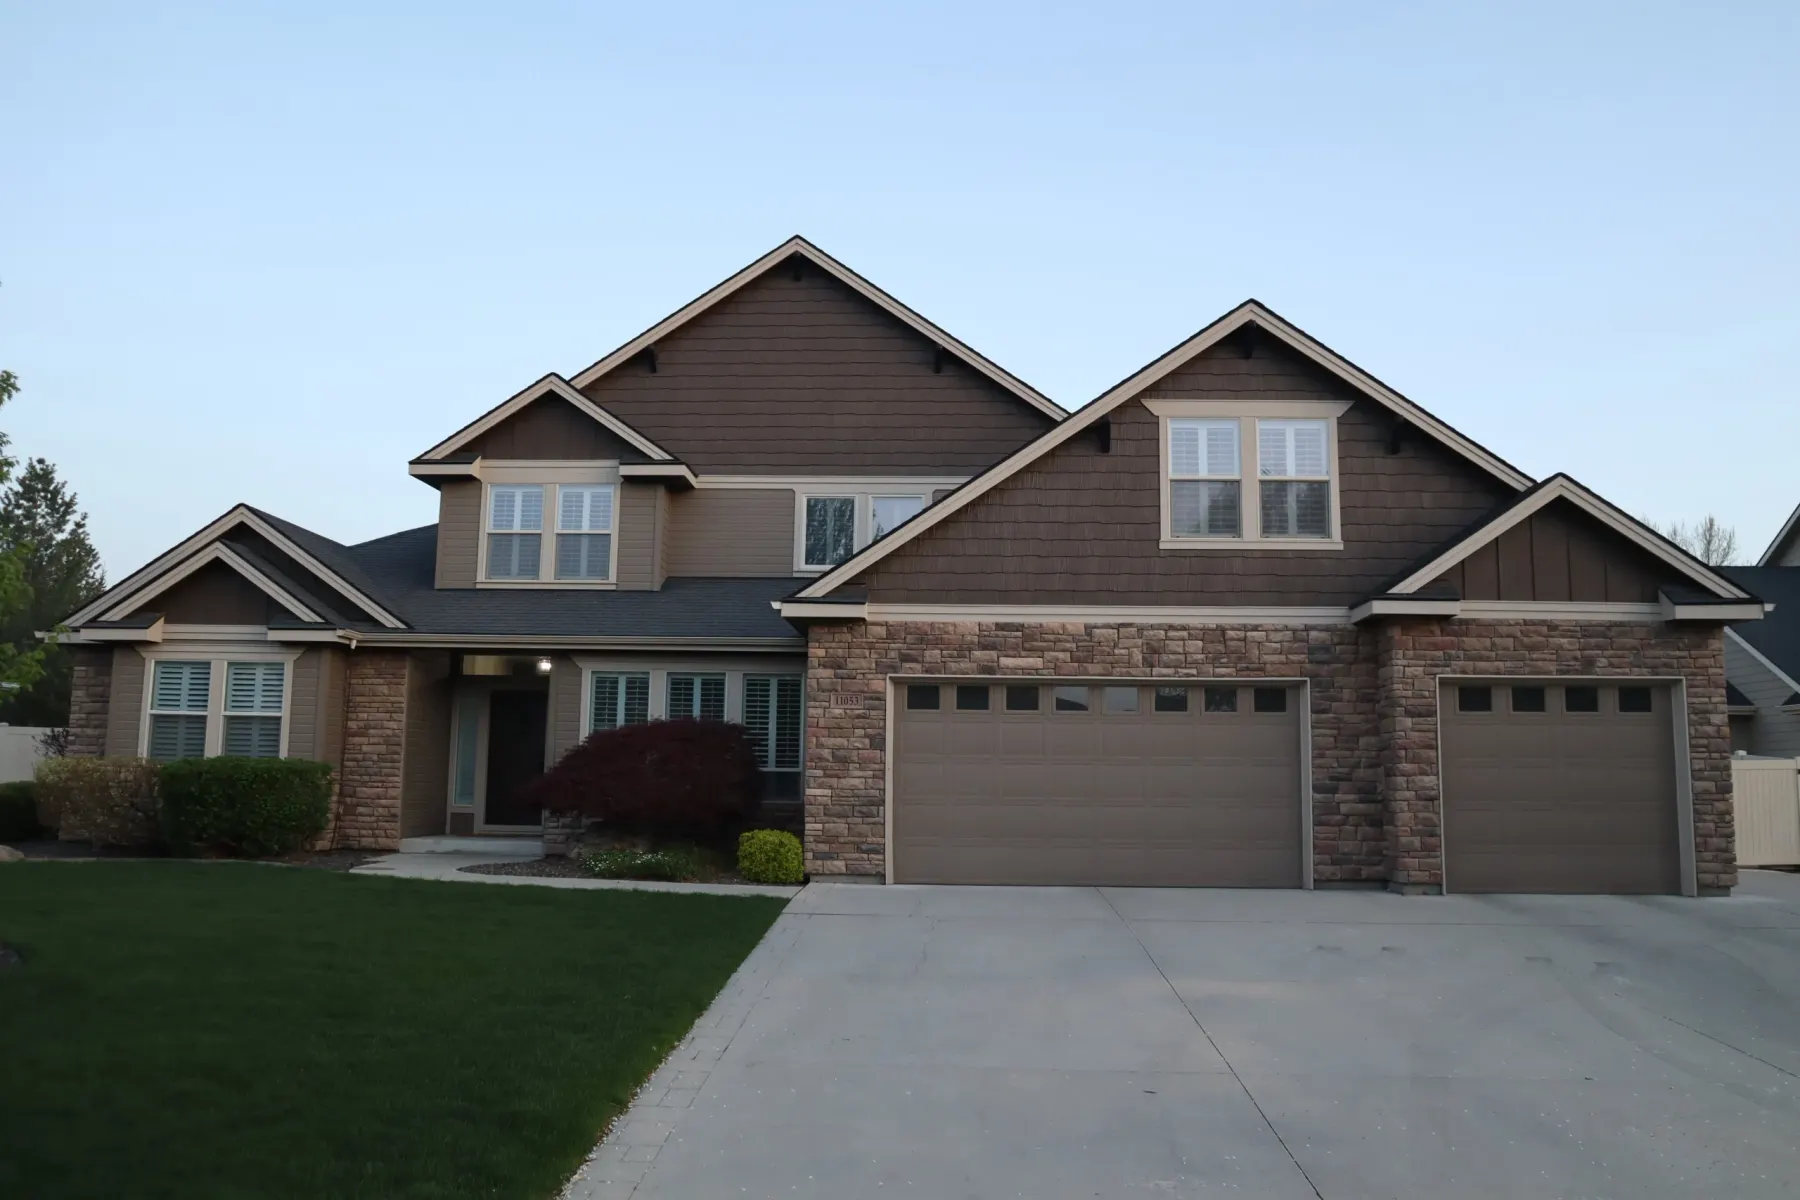
Stand back on the sidewalk or driveway and look at the house the way a visitor or a neighbour would. Draw a simple top-down or front-elevation sketch of the roofline, marking the sections you actually want lit: the front eaves, any gable peaks, garage returns, porch roofs and dormers. Most homeowners light the visible street-facing lines and skip the parts of the roof no one sees from the road, which keeps both the kit size and the cost down. Mark the location of the nearest outdoor GFCI outlet on the sketch too, since the run has to start close to power and that location affects how you plan branches later.
Step 2: Measure straight eaves along the ground
For a straight horizontal eave, the easiest and most accurate method is to measure along the ground directly below the roofline with a long tape measure, rather than trying to hold a tape up against the fascia. Walk the tape from one corner to the next, following the same path the track will take, including any small jogs where the house steps in or out. Write the length of each straight section on your sketch as you go rather than trying to remember a running total in your head.
Step 3: Measure gables and peaks with the diagonal, not the width
Gables are where most DIY measurements go wrong. It is tempting to measure only the horizontal width of the gable and assume that covers the sloped section, but the track follows the rake of the roof, which is longer than the flat width beneath it. To measure a gable correctly, take the horizontal width at the base of the triangle and the vertical height from the base to the peak, then use those two numbers to find the diagonal, which is the actual length the track will travel on each side of the peak.
A worked example
Say a gable is 20 ft wide at its base and rises 8 ft to the peak. Half the base is 10 ft. The diagonal from that midpoint up to the peak works out to roughly 12.8 ft, using the same right-triangle relationship a framer would use for a roof rafter. Since the gable has two equal sides, the full diagonal run across both slopes is about 25.6 ft, not the 20 ft you would get by measuring the base alone. On a house with two or three gables, that difference easily adds 15 to 20 ft to the total order, which is the gap between ordering a 150 ft kit and ending up 20 ft short.
If climbing to measure the peak height is not practical, a laser measure aimed from the ground up to the peak, combined with the horizontal width, gives the same result without a ladder. A satellite view can also help confirm gable width from above, though it will not give you the slope, so pair it with a height estimate from the ground.
Step 4: Account for corners, returns and jogs
Every inside or outside corner, every garage return, and every jog where the house steps forward or back needs either a short piece of track or an extension connector to bridge the gap cleanly. These small connections add up. A house with six or seven corners along the lit sections can easily use an extra 3 to 5 ft of allowance across all those joints. Rather than trying to measure each corner to the inch, add a flat allowance of about 5 percent to your raw total to cover trimming, corner connectors and small measurement error.
Step 5: Decide which branches need power injection cable
While you are out measuring, note which sections are far from the planned outlet and which runs will be long or split into multiple branches off a T-connector. On a 12V system, the pucks farthest from the power supply lose brightness gradually if the run is long enough, and power injection is recommended roughly every 120 lights to keep the far end as bright as the near end. Marking these distances on your sketch now means the right length of power-injection cable, whether that is the 20 ft, 10 ft, 5 ft or 1 ft option, gets added to the order instead of guessed at during installation. Our companion guide on power supplies and power injection covers the specifics of when and where to add these cables.
Step 6: Add it all up and choose the kit size
Add every straight section, every gable diagonal, and your corner allowance into one total. Round that number up to the next available kit size rather than down. Kits run 50 ft, 75 ft, 100 ft, 150 ft, 200 ft and 250 ft, priced from $1,265 for the 50 ft kit up to $3,157 for the 250 ft kit, all in Canadian dollars and shipped from London, Ontario. A 100 ft kit, for example, includes 32 strands of five RGBW pucks each for 160 lights total, 31 pieces of 42-inch aluminum track, a WLED-based WiFi controller with 16 million colours and a dedicated warm white channel, a 150 W 12V power supply, a full set of extension connectors and T-connectors, power-injection hardware, colour-matched soffit screws and spare fuses. You can browse kit sizes and what is included in each at /diy-kits.
Step 7: Double-check with a second method
Before placing the order, verify your ground-level measurements against a satellite view of the property. Overlaying your sketched sections onto the aerial photo is an easy way to catch a missed section or a doubled-up number. If the two methods land within a few feet of each other, you can order with confidence. If they disagree by more than 10 percent, walk the roofline again with the tape before finalizing the kit size.
Measuring for a future addition
If you plan to light more of the house later, such as the backyard deck or a detached garage, it is worth measuring those sections now even if you are not ordering that track yet. Knowing the future total helps you decide whether to buy a slightly larger kit today so the leftover track pieces already match, or to plan a second order that connects in cleanly at a T-connector. Either approach works with the modular system; the only real cost of waiting is a second small order rather than one combined shipment. Full kits and individual parts, including extra track, connectors and controllers, are available at /shop.
Measuring carefully takes an extra twenty minutes compared with eyeballing the roofline from the driveway, and it is the single biggest factor in whether install day goes smoothly. Sketch the house, measure every section on the ground, use the diagonal for gables, add a small allowance for corners, and round up to the next kit size. From there, the rest of the project is straightforward carpentry and a few sealed connectors.
Frequently asked questions
Do I need to climb on the roof to measure for permanent lighting?
No. Straight eaves can be measured along the ground directly below the roofline, and gable peaks can be measured with a laser distance measure aimed from the ground, combined with the horizontal width at the base. A satellite view is a useful cross-check for the whole layout without climbing anywhere.
How much extra length should I add for corners and cuts?
A flat allowance of about 5 percent of your raw total covers most houses, accounting for corner connectors, small trims and measurement error. On a house with several corners or returns, lean toward the higher end of that allowance.
What happens if I order a kit that is too small?
The run will come up short of track pieces or connectors, which usually means a delay while you order a top-up kit and wait for shipping. It is almost always cheaper and faster to round up to the next kit size from the start; see the available sizes at /diy-kits.
Why does a gable need the diagonal length instead of the width?
The track follows the slope of the roofline, not the flat distance beneath it. Measuring only the horizontal width of a gable undercounts the actual length by a meaningful amount, often 15 to 20 percent depending on the roof pitch, which is enough to leave a gable short of track.
Should I measure sections I don't plan to light yet?
It is worth doing if you expect to add more lighting later, such as a backyard or garage. Knowing that future total in advance makes it easier to decide whether to size up your current kit or plan a second matching order down the road.
Can I mix a satellite view with ground measurements?
Yes, and it is a good practice. Use ground-level tape or laser measurements for the actual lengths, then overlay your sketch onto a satellite image as a sanity check to make sure no section was missed or double-counted.
Ready to build it?
Everything in this guide ships from London, Ontario.
Complete 12V kits from $1,265, plus every part sold separately. Free Canadian shipping over $500.
Keep reading
Planning · 9 min
Do Permanent Lights Work in Canadian Winters? Cold, Snow and Ice Explained
Canadian homeowners looking at permanent roofline lighting want a straight answer on cold weather. Here is what the low-voltage electronics tolerate, what snow and ice actually do to a roofline install, and where the real failure points are.
Buying guides · 9 min
Permanent Lighting Cost in Canada: DIY Kit vs Professional Install
Professional permanent lighting installs in Canada run $25 to $40 a foot. A DIY kit for the same house is roughly a third of that. Here is what the price difference actually buys.
Buying guides · 10 min
Permanent Holiday Lighting Compared: Trimlight, Jellyfish, Gemstone, Govee and DIY Kits
A category-by-category comparison of the permanent lighting options available to Canadian homeowners: professional-install brands, consumer smart strips, and DIY roofline kits, with what each actually costs and where each one fits.